

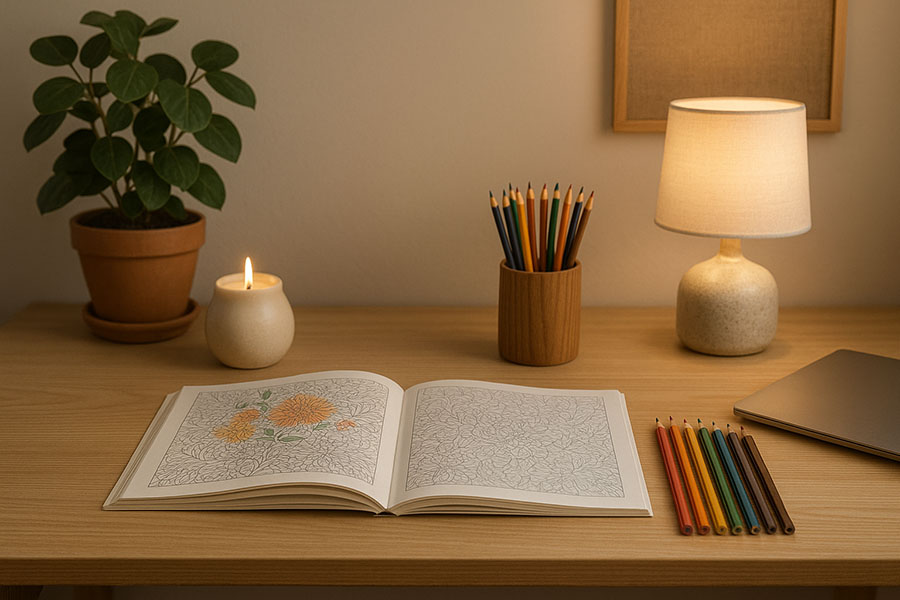
Finishing a coloring page feels great, but the real magic starts when you decide what comes next. Instead of sliding your artwork into a drawer, you can turn it into something practical, meaningful, and even profitable. The ideas below are designed for every skill level and budget. Each one takes a familiar household item or hobby and pairs it with the bright possibilities of a completed coloring sheet. Pick one that matches your style, or try them all and watch your art pop up all around your home and community.
1. DIY Wall Art
Framing a coloring page is the fastest way to upgrade its status from pastime to showpiece. Start by choosing a frame that complements the mood of your design. A sleek black frame creates a gallery vibe, while distressed wood feels rustic and cozy. Trim the page or use a mat board to center the artwork. If your page has a busy border, a wide mat in a solid color gives viewers a place to rest their eyes and makes the image feel intentional. Before sealing everything in place, spray the page with a clear matte sealant. This protects the pigments from airborne dust and UV light that can dull bright tones. When you pick a spot on the wall, think about lighting. Natural light near a window brings out subtle shading in pencil or crayon work, but direct sunlight can fade markers, so aim for indirect light or install a small picture light above the frame. If you have several finished pages, arrange them in a grid or create a salon wall that mixes artwork sizes and frame styles. Changing the arrangement each season keeps the display fresh and reminds you to keep coloring.
2. Personalized Greeting Cards
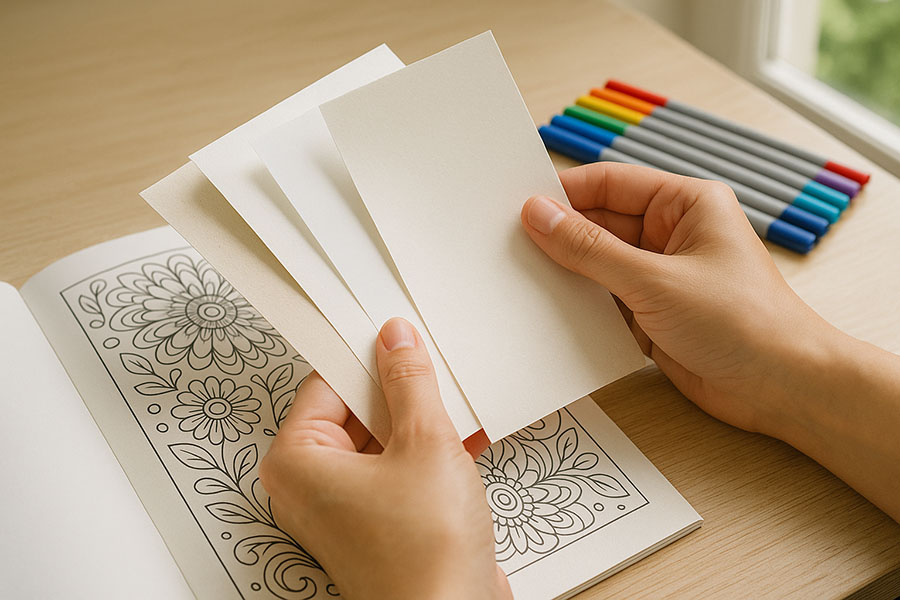
A handmade card feels warmer than any store bought option, and a coloring page is the perfect base. Fold an 8.5 x 11 inch piece of heavyweight cardstock in half to create a sturdy blank card. Now inspect your colored page and pick a focal element. It could be a single flower, a motivational quote, or an intricate mandala. Cut or tear that section to the desired size. For a clean edge use a craft knife and metal ruler, but ripping along a straightedge adds texture that looks artistic rather than messy. Adhere the cutout to the front of the card with double sided tape or a glue stick. If you want dimension, raise the piece with foam adhesive squares. Finish the outside with a strip of washi tape, a pressed flower, or a dab of glitter glue. Inside the card write a personal message that references the art. For example, if you chose a bright sunflower, say something about bringing sunshine to the recipient’s day. Tuck the card into a colorful envelope, and you have a keepsake that will likely be displayed long after a standard card hits the recycling bin. This practice also helps you reduce paper waste because you are repurposing art that might otherwise gather dust.
3. Unique Gift Wrap and Tags
Small presents feel extra special when wrapped in something the giver made by hand. Scan or photocopy your coloring page so you can keep the original safe, then print it on lightweight copy paper. Use the sheet to wrap candles, jewelry boxes, or homemade soap bars. When folding the paper, line up prominent elements so they appear on the top of the package for maximum impact. You can also cut strips from leftover colored pages to use as belly bands over plain kraft paper, creating a two tone look that feels boutique. Gift tags come next. Punch shapes from scraps with a craft punch or cut rectangles by hand. Write the recipient’s name in gel pen, then punch a hole and thread ribbon or baker’s twine. Add a sprig of dried lavender or a small charm to complete the upscale vibe. Because the design is personal, the packaging becomes part of the gift, and friends often save the tag as a bookmark or keepsake.
4. Decorative Bookmarks
Readers love a good bookmark, and when yours features original art it makes each reading session feel deliberate. Choose a coloring page with strong vertical elements, such as tall flowers or geometric borders. Cut a strip about two inches wide and six inches long. To strengthen it, back the strip with a matching piece of thin chipboard or a second layer of cardstock using glue that dries clear. Round the corners with a corner punch to avoid bent tips. If you own a laminator, run the bookmark through with a glossy pouch to protect it from moisture and oils from your hands. No laminator? Cover both sides with wide clear packing tape and trim the excess. Punch a hole at the top and thread ribbon, suede cord, or embroidery floss. Slide on a few glass beads to add weight so the marker stays between pages. For an extra touch, write a favorite quote from the book series the bookmark will accompany. These handcrafted markers make thoughtful add ons when gifting novels or journals, and they can be sold at craft fairs or added as bonuses to online book orders.
5. Scrapbook and Journal Backgrounds
Coloring pages bring immediate flair to memory keeping projects. When assembling a scrapbook layout, choose a page whose colors match your photos. Cut large shapes like circles or hexagons to use as photo mats. Smaller motifs, such as leaves or stars, become embellishments that tie the theme together. If you keep a bullet journal, slice narrow washi style strips from the edges of your coloring sheets and use them to create headers or section dividers. Another technique involves tearing the page into rough pieces, then layering them with tissue paper and stamped images for a mixed media look. To keep the journal from becoming bulky, print a scanned copy of your art on thinner paper. Add handwritten notes about the day you completed the coloring, how you felt, or the music you listened to. These personal details turn a simple design into a tiny time capsule, creating deeper emotional value when you flip through your book months or years later.
6. Decoupage Home Decor
Decoupage lets you transfer colored art to nearly any surface, from wooden trays to ceramic pots. Start by cleaning and lightly sanding the surface so glue adheres properly. Trim your coloring page to fit or tear it into pieces for a collage effect. Apply a thin layer of decoupage medium or diluted white glue with a foam brush. Lay the paper down slowly, smoothing from the center outward to push out air bubbles. Once the first coat dries, brush another layer over the top to seal. Repeat two or three times, letting each coat dry thoroughly. Finish with a water based varnish for durability, especially on items that will be handled often. A colored mandala on the lid of a jewelry box transforms a plain object into a meditation aid. Floral designs on a set of coasters brighten a coffee table. Because the paper is sealed beneath layers of varnish, the rich colors stay vivid, and cleanup requires only a damp cloth.
7. Party Decorations
Throwing a birthday or holiday party? Your coloring pages can tie the theme together without the cost of store bought decor. Scan the page and resize elements in a word processor or design app. Print multiple copies and cut triangles to create a bunting banner. String the pieces on twine and drape across a mantel or buffet. For cupcake toppers, punch circles from the colored design, glue two back to back around a toothpick, and insert into frosted treats. Place cards are equally simple. Fold small rectangles of cardstock, glue a snippet of art on the front, and hand letter guest names inside. The repeated motif creates visual cohesion throughout the space and sparks conversation. Guests often ask how you made them, giving you the chance to share your love of coloring and maybe inspire someone else to pick up pencils or markers.
8. Fabric Transfers for Tote Bags and Tees
Turning a coloring page into wearable art is both fun and practical. Scan the page at 300 DPI or higher for crisp detail. Open the file in an image editor and flip it horizontally so any text prints in reverse. Print onto iron on transfer paper following the manufacturer instructions. Pre wash the fabric item to remove sizing agents that can block adhesion. Lay the shirt or tote bag on a firm surface, position the transfer face down, and press with a hot iron using steady pressure. After cooling, peel away the backing to reveal the design. The result is a custom piece that looks like boutique merch. Wash the item inside out in cold water to preserve color, and avoid harsh detergents. If you plan to sell the finished products, check that your coloring pages are licensed for commercial use. Offer coordinating sets, such as a tote and zipper pouch, to increase perceived value.
9. Custom Phone Cases and Mugs
Print on demand services make it easy to showcase your art on everyday items. Upload a high resolution scan of your colored page to a platform like Redbubble, Society6, or Printify. Align the design within the product template to avoid cropping important elements. Transparent PNG files allow the background color of the item, such as the white ceramic of a mug, to show through and highlight the artwork. Order a sample to ensure color accuracy, then photograph the item in natural light for online listings or social media posts. Personalized gear draws attention and can serve as a mini portfolio of your coloring skills. When you sip coffee from a mug adorned with your floral mandala, friends will see it and ask about your creative process, opening the door for commissions or collaborations.
10. Educational Games and Puzzles
Coloring pages can double as learning tools for children. Glue a finished page onto thin cardboard and let it dry completely. Use a pencil to sketch puzzle piece shapes, then cut along the lines with a craft knife. Challenge kids to reassemble the image, which strengthens spatial reasoning and hand eye coordination. For younger children, cut the page into simple geometric shapes and ask them to match colors or patterns. Another option is a memory game. Print two smaller copies of the page, cut each into equal squares, and place them face down. Players flip two at a time, trying to find matching images. The repetition reinforces color recognition and sharpens concentration. Because the artwork is unique, the game feels fresh compared to mass produced options. Laminate the pieces to extend their life, and store them in a small tin so the set is travel friendly.
Final Thoughts
A coloring page is never just a piece of paper. Once you add color, it carries your energy and style. By transforming your pages into wall art, wearable designs, or thoughtful gifts, you let that creativity circulate, inspiring both you and the people around you. Keep experimenting and share your results on social media or at local craft fairs. Soon your stack of finished pages will become a collection of stories, each one brightening a different corner of your life.


0 Comments