Not all paper is created equal—especially when it comes to printable coloring pages. The right paper can make markers glide, coloured pencils blend beautifully, and help your finished coloring sheets look gallery-worthy. The wrong choice, however, can cause bleed-through, blurred lines, or dull, washed-out colours.
In this guide, we’ll explore the key factors to consider when selecting paper for printable coloring pages, match popular paper types with common coloring tools—including markers, gel pens, and coloured pencils—and share practical tips for printing, storing, and preserving your colouring masterpieces. Whether you’re creating kids’ coloring pages, adult mandala coloring pages, or holiday-themed printables, choosing the right paper makes all the difference.
1. The Four Paper Fundamentals
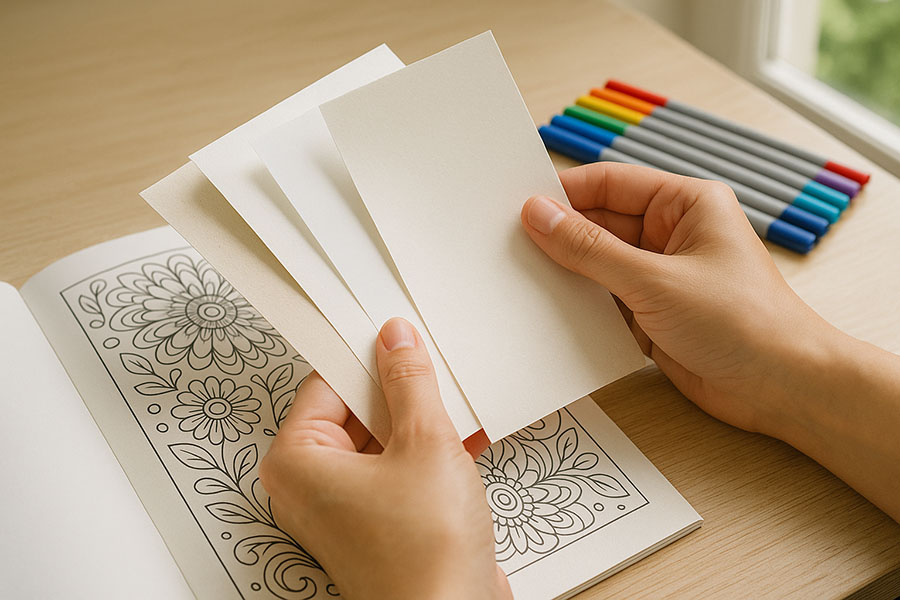
- Weight (GSM / lb): Heavier paper resists warping and bleed‑through. Look for 120–160 gsm (32–43 lb text) for general coloring, 200 gsm+ for wet mediums or double‑sided pages.
- Tooth (Surface Texture): Smooth paper is perfect for markers and fine‑line pens, while a light tooth helps soft‑core pencils grip and layer. Rough tooth is ideal for watercolor pencils.
- Finish (Coated vs. Uncoated): Coated papers have a slick surface that keeps marker ink crisp but can repel pencil pigment. Uncoated papers absorb pencil layers but may feather liquid ink if too porous.
- Color & Brightness: Bright‑white paper shows true hues; toned papers (tan, gray) let you add both highlights and shadows for extra depth.
2. Matching Paper to Your Coloring Medium
Colored Pencils
- Best choice: Bristol Vellum (250 gsm) offers slight tooth for blending without eating pencils.
- Budget option: 160 gsm matte presentation paper. Smooth but sturdy enough for light layering.
- Pro tip: Burnish gently on the final layer to avoid wax “bloom.”
Alcohol‑Based Markers
- Best choice: Marker Paper (70–90 gsm) is thin yet bleed‑proof thanks to a special coating. Colors stay vibrant and don’t feather.
- Alternative: 200 gsm heavyweight cardstock if you need sturdy single‑sided pages.
- Avoid: Regular copy paper—it drinks ink, causing streaks and dull tones.
Water‑Based Markers & Brush Pens
- Best choice: Mixed‑Media Paper (180–250 gsm) balances absorbency and smoothness.
- Tip: Let layers dry fully before adding details to prevent pilling.
Crayons & Oil Pastels
- Best choice: 160 gsm drawing paper with medium tooth. Enough texture to grab wax without crumbling.
- Fun twist: Try colored construction paper; white crayons pop for chalk‑style effects.
Watercolor Pencils & Light Washes
- Best choice: Cold‑Press Watercolor Paper (200–300 gsm). The textured surface handles wet blending without buckling.
- Prep hack: Lightly tape edges to a board to reduce warping.
3. Printing Your Own Pages
- Inkjet vs. Laser: Inkjet prints richer blacks on textured paper but may smear under wet mediums unless you use pigment‑based inks. Laser offers crisp lines that resist water.
- Paper Path Matters: Rear‑feed trays handle thick cardstock best. Check your printer specs before loading 200 gsm+ sheets.
- Scale Settings: Choose “Actual Size” for pre‑sized designs. If margins clip, select “Fit to Printable Area” but note slight size reduction.
4. Preventing Bleed‑Through & Ghosting
- Test Patch: Color a small corner to see how the paper reacts.
- Blot Sheet: Place a scrap page beneath as a safety net, especially with markers.
- Ink Density Settings: Reduce ink volume 5–10 % in printer settings when pages look overly saturated.
5. Storing and Displaying Finished Pages
- Flat Storage: Slide pages into acid‑free sleeves within a binder to keep colors fresh.
- Spray Fixative: A light coat on pencil or pastel work prevents smudging—spray outdoors and let air‑dry.
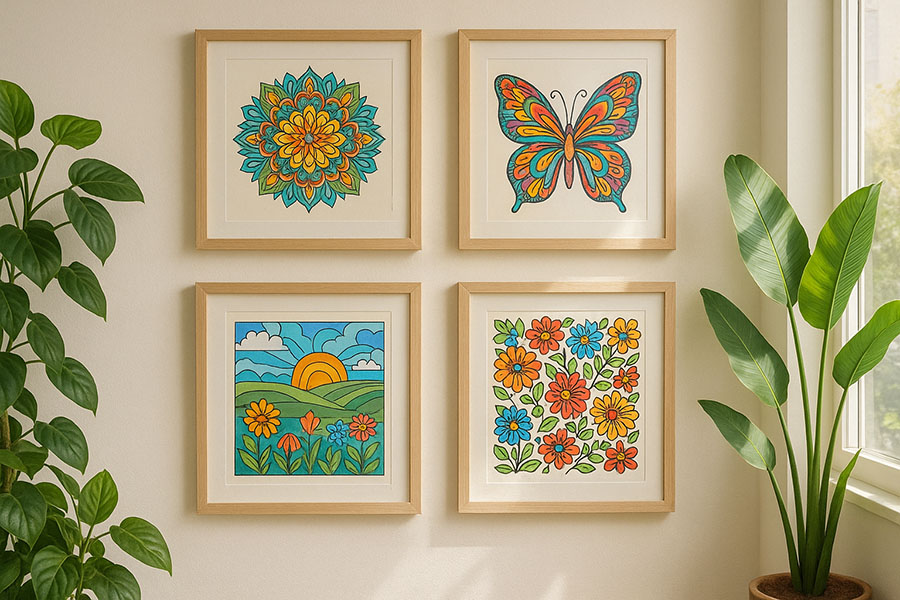
- UV Protection: Frame special pieces behind UV‑filter glass if they hang in sunny rooms.
6. Quick‑Reference Paper Chart
| Medium | Ideal Weight | Best Surface | Notes |
|---|---|---|---|
| Colored Pencils | 160–250 gsm | Light tooth | Bristol Vellum or drawing paper |
| Alcohol Markers | 70–200 gsm | Smooth, coated | Marker paper or heavy cardstock |
| Water‑Based Markers | 180–250 gsm | Smooth to medium | Mixed‑media pads |
| Watercolor Pencils | 200–300 gsm | Cold‑press texture | Tape edges when wetting |
| Crayons / Oil Pastels | 160 gsm+ | Medium tooth | Try toned paper for contrast |
Final Thoughts
The best paper isn’t the priciest sheet on the shelf—it’s the one that complements your coloring style and tools. Test small packs before committing to a bulk purchase, jot notes on how each paper feels, and soon you’ll build a personalized arsenal that makes every hue sing. When paper, pigment, and purpose align, your coloring sessions move from good to unforgettable.




0 Comments