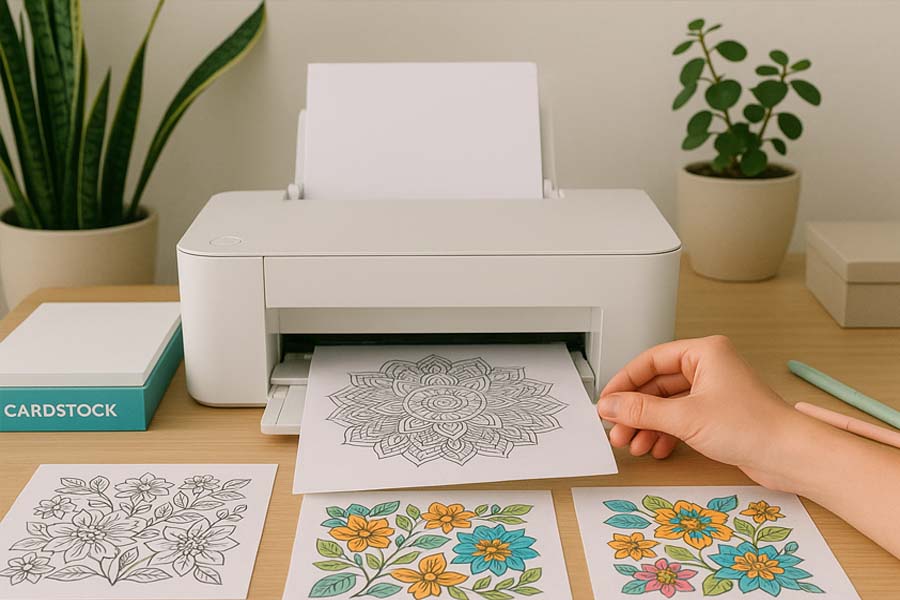
Nothing kills the coloring mood faster than a streaky print or a crooked margin. Luckily, you don’t need a commercial print shop to get crisp, vibrant pages—just a little know‑how and a willingness to tweak a few settings. Below you’ll find a step‑by‑step guide that walks you through paper choices, printer tweaks, and color management so every page that leaves your machine looks gallery‑ready and ready for your markers, crayons, or pencils.
1. Start With the Right Supplies
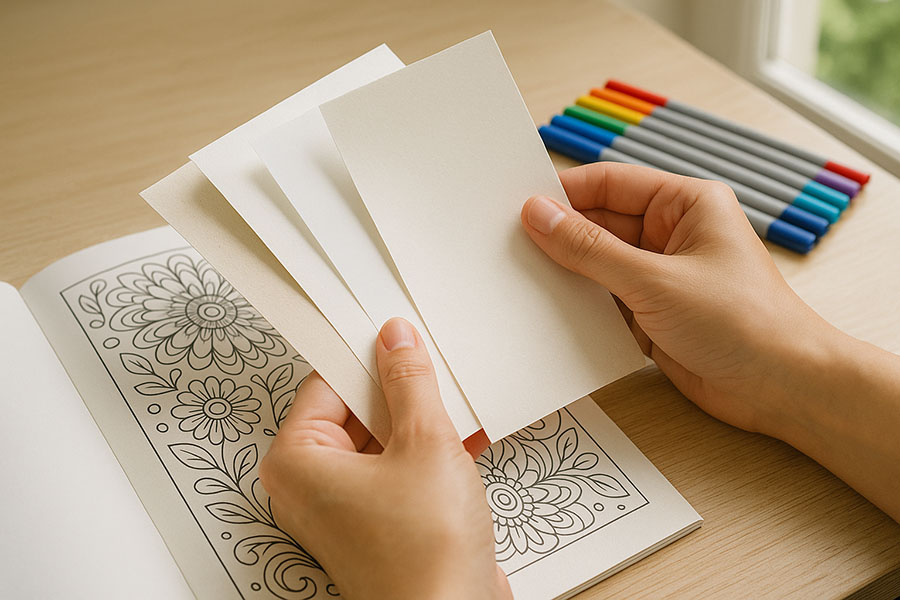
Before you even open the print dialog, make sure your basics are dialed in. Inkjet printers are generally better for color saturation and smooth gradients, while laser printers excel at razor‑sharp lines on standard paper. If you plan to color with alcohol markers, spring for an inkjet printer with pigment‑based inks; they resist smearing when blending. As for paper, 120–160 gsm (32–43 lb text) uncoated cardstock gives you enough heft to ward off bleed‑through without jamming most home machines. Keep a ream of premium matte photo paper on hand if you love pencils—the subtle tooth grabs pigment beautifully.
Quick checklist:
- Printer type: Inkjet for color, laser for crisp line art.
- Ink: Pigment‑based for markers, dye‑based for pencils and crayons.
- Paper weight: 120–160 gsm for single‑sided, 200 gsm if you plan to display.
2. Calibrate Your Screen and Printer (It’s Easier Than It Sounds)
Ever printed a bright teal only to watch it come out dull green? That’s a color‑profile mismatch. The simplest fix is to turn on your operating system’s built‑in color calibration wizard and choose your printer’s manufacturer ICC profile. If available, enable “photo” or “best” mode in the driver. This slows down the print head and deposits more ink, giving richer hues. Do a quick nozzle check and alignment from your printer’s maintenance menu to eliminate faint banding lines—those horizontal stripes that appear when a nozzle clogs.
3. Dial In Your Print Settings
Open the print dialog and look for these crucial options:
- Paper type: Match it to your actual stock—plain, matte photo, presentation, or heavy cardstock. The printer adjusts ink flow accordingly.
- Quality: Draft mode is tempting to save ink, but “high” or “best” quality is worth it for final pages.
- Borderless: If you want edge‑to‑edge art, select borderless printing. Note that many printers auto‑expand the image by 3–5 %. If precision matters, compensate by shrinking the document before printing.
- Scale: Choose “Actual Size” for designs sized to the page; “Fit to Printable Area” if margins don’t matter and you’re avoiding cut‑off edges.
- Orientation: Double‑check portrait vs landscape—easy mistake, expensive reprint.
4. Perform a Test Print
Before burning through premium paper, print a quarter‑size or grayscale draft on regular copy paper. Look for these issues:
- Blurry outlines (printer resolution too low)
- Washed‑out color (wrong paper setting or low ink)
- Cropped details (scaling set incorrectly)
Minor issues? Adjust settings and try again. Major issues? Clean print heads, update drivers, or replace low cartridges.
5. Handling Ink Bleed and Smudging
If you notice feathering—where ink creeps outward along paper fibers—switch to a smoother stock or lower the ink density in advanced settings (often called “color intensity” or “ink volume”). For marker‑friendly pages, wait at least 24 hours before coloring so the ink fully cures. Place a sheet of scrap paper underneath to catch any potential marker seepage.
6. Printing on Specialty Papers
Want a watercolor effect? Use 200–240 gsm cold‑press watercolor paper in an inkjet with rear feed. Select “fine art paper” in settings and manual feed one sheet at a time to avoid jams. For translucent vellum, choose “transparency” mode and extend drying time to prevent smears.
7. Double‑Sided Printing Without Ghosting
If your design demands front‑and‑back, print the lighter background side first, then the more saturated side. Let the first page dry completely—overnight if possible—then reload the sheet according to your printer’s duplex instructions. Use 160 gsm or heavier stock to stop the back image from showing through.
8. Money‑Saving Hacks That Don’t Sacrifice Quality
- Bulk ink refills: Third‑party cartridges can slash costs but vary in quality; buy from reputable brands with pigment‑based formulas.
- Print in batches: Printers use a small amount of ink each time they power up for cleaning cycles. Printing multiple pages in one session reduces waste.
- Preview diligently: Zoom into the print preview at 100 % to catch typos or stray lines before hitting Print.
9. Troubleshooting Common Issues
- Horizontal banding: Run a nozzle check, clean print heads, and ensure “high” quality mode.
- Paper jams: Fan your stack to reduce static and load fewer sheets. Use the rear feed for heavy cardstock.
- Color shifts: Replace near‑empty cartridges together—low colors can cause the printer to substitute mixes that dull hues.
10. Protecting and Storing Your Prints
Freshly printed pages are susceptible to scuffs and fingerprints. Handle them by the edges and store flat in an archival‑quality folder until you’re ready to color. If you’re traveling, slip pages into plastic sleeves within a binder to keep corners crisp.
Final Thoughts
Perfect prints are equal parts science and patience. Spend an extra few minutes matching paper to printer settings, and you’ll save yourself a mountain of frustration—and wasted ink. Once you get a workflow that works for your specific equipment, jot it down and tape it near your printer for next time. Then reward yourself by grabbing your favorite markers, crayons, or pencils, and dive straight into the fun part: bringing those flawless lines to life.


0 Comments